Yes, I know, another Tip of the Week in one week? Only because it's Easter and there's still time to use this for your egg dying extravaganza!!!
I’ve bee patiently waiting for my oven to be fixed for about a month now. I need one little part and of course it was on back order. Ugh. I never realized how much I depend on my oven!! It’s so hard to convert your cooking methods from the oven to the stovetop!!
Anyway…it’s FINALLY fixed, and just in time for Easter, so I decided to try out the baking method for hard boiling eggs!
I found this great article on just how to do it at Greeting’s From the Asylum, so stop by and check it out for details.
I only had 6 eggs left so I adjusted my cook time to 25 minutes.


As my children patiently waited for the eggs to bake and cool, I wondered to myself, will the eggs be overcooked since the recipe calls for a dozen to two? Hmmm.
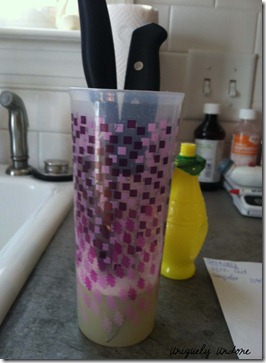
After baking, as instructed, I placed the eggs in an ice water bath. Since my goal was to dye them, I didn’t peel them right away.

Here are the pretty dyes eggs, courtesy of those two cute kids you saw a bit earlier!!! And the one in the back is another blown egg that I decided to draw on as opposed to decoupage, but that didn't turn out so well!!

And now for the burning question we all want to know…did baking eggs produce quality hard boiled-ness???

Perfection! This tip is a success! Peeled super easy, and tasted just as delicious! I will make mention, however, that if you like your yolk less crumbly, you could could tweak the time baked. Again, as I only have 6 eggs to deal with, I believe that I could have taken another 5-10 minutes off the cook time.
Enjoy just in time for your Easter celebration!


I’ve bee patiently waiting for my oven to be fixed for about a month now. I need one little part and of course it was on back order. Ugh. I never realized how much I depend on my oven!! It’s so hard to convert your cooking methods from the oven to the stovetop!!
Anyway…it’s FINALLY fixed, and just in time for Easter, so I decided to try out the baking method for hard boiling eggs!
I found this great article on just how to do it at Greeting’s From the Asylum, so stop by and check it out for details.
I only had 6 eggs left so I adjusted my cook time to 25 minutes.


As my children patiently waited for the eggs to bake and cool, I wondered to myself, will the eggs be overcooked since the recipe calls for a dozen to two? Hmmm.
After baking, as instructed, I placed the eggs in an ice water bath. Since my goal was to dye them, I didn’t peel them right away.

Here are the pretty dyes eggs, courtesy of those two cute kids you saw a bit earlier!!! And the one in the back is another blown egg that I decided to draw on as opposed to decoupage, but that didn't turn out so well!!

And now for the burning question we all want to know…did baking eggs produce quality hard boiled-ness???

Perfection! This tip is a success! Peeled super easy, and tasted just as delicious! I will make mention, however, that if you like your yolk less crumbly, you could could tweak the time baked. Again, as I only have 6 eggs to deal with, I believe that I could have taken another 5-10 minutes off the cook time.
Enjoy just in time for your Easter celebration!

 |
 |
 |
 |
 |
 |
||
 |